Hi Y’all!
If you follow my instagram story, you’ve seen the highs and lows of the Cane Chair saga. It’s been a doozy, but I couldn’t be happier with the outcome. One of my favorite shows is New Girl and in one of the episodes Jess and CeCe are talking about Jess and how she would rather plan a trip than actually go on the trip. I was like yessssss girl! This is exactly how I feel about redoing furniture. I would much rather imagine ways I can redo furniture than actually redo the furniture. With that being said, there is nothing I would have done differently with this project although I might have told my husband “remind me to never upholster anything again.”
There is this emotional cycle with DIY projects that I feel like everyone goes through. Here is the official DIY Project Cycle of Emotions:
Pure Joy: you find your project and you can see the finished project and there is nothing but pure joy and excitement for the journey you’re about to go on. Savor it!
Strategy: you know what you need and how you’re going to tackle this and you are anxious to start and see that beautiful vision you’ve got. Yes girl!
Remorse/Overwhelm: you’re in the middle of your project, you’re driving back from your 4th trip to Home Depot and you’re on the verge of tears telling your close friends and family to remind you to never do this again.
Pride: you’ve given your blood, sweat, money, and tears to this project and you’ve nailed it. Your vision has become a reality and you’re pouring yourself a glass of wine and giving yourself the biggest pat on the back. This is the part in the cycle where you start over and tackle another DIY project because you’re riding this high of pride and joy and it’s TOTALLY worth it!
This is totally a real cycle and I will take credit for coining it- kidding, but for real.
Now, on to the makeover that you’ve all been waiting for! I didn’t get as many photos of the upholstery portion because of the remorse/overwhelm of the emotional cycle, but leave me a question in the comments if there is anything I can answer for you!

Here are the chairs before! Beautiful bones, but I had the vision of white, neutral, and casual style chairs for our space. I stripped down the chairs, which was the most painful part of the entire process. I only had a hammer, a flat head screwdriver, and a pair of pliers to take them apart, staple by staple. It took 3 days (working on them for a few hours each day) and a LOT of patience. My biggest advice for this part of the process is wear gloves because I tore my hands apart and it’s probably going to take weeks for them to heal.

Here are the chairs completely bare of upholstery, with just the frame in tact. This was taken as I prepared to paint them. I lightly sanded them with 150 grit sandpaper to get them ready for paint.

This is after one coat of Primer- I used 1 can of Kilz white oil-based spray paint primer. In hindsight I should have purchased 2 cans of primer, but I made it do with 1 can and 3 cans of Paint + Primer 2x Cover Rustoleum white in high gloss. It’s the same paint I used in my French Provincial Nightstand Makeover. With the chairs, I ended up not using a clear coat to seal them. With the high gloss finish they didn’t need it. I did 1 coat of primer + 2 coats of white paint for each chair.

Like I said, I didn’t get any pictures of the upholstery process but I’m going to do my best to explain how I upholstered them and what I used:
Tools:
Flat head screwdriver, hammer, carpet tacks, upholstery needle, upholstery thread, pins, hot glue gun, hot glue sticks, scissors, upholstery batting, and your choice of fabric.
I recycled many things from the original upholstery of the chairs and it took me so long to take the chairs apart because I did my best to keep everything in tact to use it as a guide for when I needed to cut my fabric. One of the chairs was upholstered using carpet tacks so I recycled all of those so I could reuse them when putting the chairs back together because I didn’t want to have to use a staple gun (they are a little scary and not to mention expensive). I also kept the fabric panels in tact and labeled them with “Chair front”, “Seat”, and “Chair Back” for each chair so when I cut my new fabric I could just use them as a guide and the hard work is basically done for me. I kept the piping in tact so that I could just sew the new fabric on top, this was the hardest part of the entire project. Sewing the piping took forever and trying to attach the piping to the chair was the hardest part. I went through 3 different types of glue before I finally tried hot glue, and it worked! Gorilla glue doesn’t work and fabric glue or seam glue will stain your piping if you’re using light fabric, just FYI.
These chairs took 2 yard of fabric and this is the fabric I used! I was pretty lucky with one of the chairs, all of the foam was relatively in good shape so I was able to reuse it, but one chair needed all new batting. I linked the batting and the carpet tacks I used in the tools section. Putting the chairs back together was relatively simple, I just put them back the way that I took them apart. One thing I wish I would have done differently was wait until Alton was home so he could have helped me stretch the fabric and hold it taught. I found that it was challenging to get it right when I was working on my own and it resulted it one of the chairs being a little lumpy. Hey we all have lumps right?

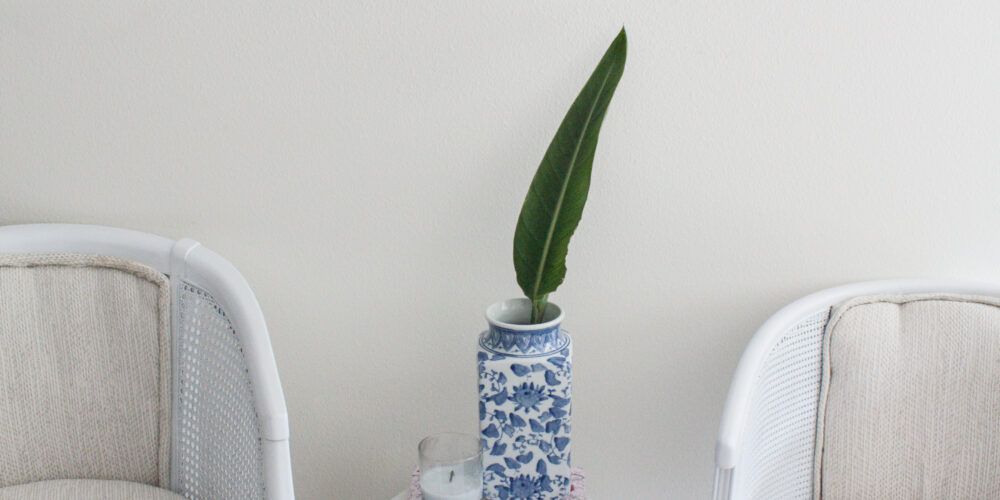
I couldn’t be happier with how they turned out, but I don’t think I will be taking on an upholstery project for awhile!

The Piping still turned out a little wonky, but I knew I was going to put pillows in the chair, so I really didn’t mind. They look great for my first go at upholstery and making mistakes with upholstering are luckily pretty easy to fix! If you have any questions about my upholstery process please leave it below in the comments!
What projects are you tackling right now?
XO,
Salem


